Showing posts with label homemade. Show all posts

Thursday, January 24, 2013

Make Your Own Baby Food

One of the things that I've really enjoyed during with all three of my children is making baby food.  For some this might sound like a horrible waste of time.  'Why make baby food when you can purchase it so easily from the store?'


There are many reasons that people choose to make their own baby food.  Mine is not for health purposes necessarily, although I do like knowing exactly what is in the food I'm feeding my baby.  My reasons are primarily two-fold:

1. It's a bit more economical.
2. I enjoy it.

My general rule of thumb in grocery shopping is to only buy produce {and meat} that is on sale during a given week.  If I'm going to make baby food for a member of our family, I simply purchase more of that produce than the rest of us would eat, cook it up, and freeze it for the baby.  It's amazing how many servings of baby food you can get from just two sweet potatoes, for example.


For some strange reason, I have gotten a great deal of satisfaction out of making baby food.  I guess that's why I have a blog titled Only From Scratch.  I like to cook and bake, and I enjoy doing it starting with the basics and ending up with something delicious.  Making baby food is similar to putting together a meal for my family.  When I heat up that little block of frozen peas, I smile remembering that I put that together for my baby.  {You can go ahead and think I'm weird, that's okay--just trying to be honest with you!}

Up until having Mason, I just did a bit of online research on how to make baby food.  There are some great materials out there, but this time around, I wanted something more concrete.  So, I purchased a little baby food cookbook by Annabel Karmel, titled, Top 100 Baby Purees.


I noticed in the store the other day this same author has several other cookbooks on food for children and families.  Her recipes are simple, which is great.  And, the nice thing about the baby food cookbook is that she breaks it down by age of the baby, so you know exactly what is appropriate at each stage of feeding.

The basic supplies for making baby food:

-Food processor {this is all I've ever used}, blender, or specialty baby food blender, like this one:
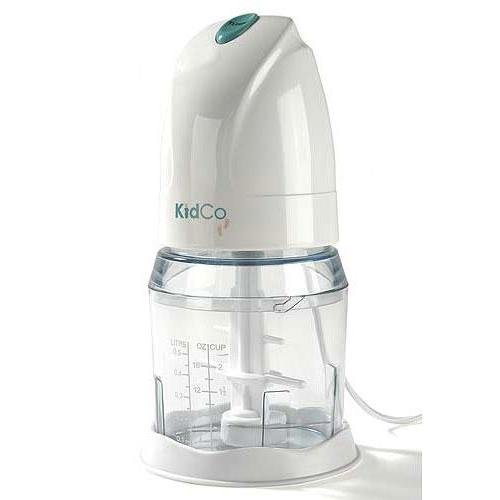
.
-Freezer containers for storage.  Ice cube trays work great, and usually each cube is 1 oz. capacity.  Several companies also have storage containers specifically for baby food.  I use a combination.  I have an ice cube tray that I use.  Once the food is frozen, I simply pop it out and store the cubes in freezer bags.  I also purchased these storage containers, you can find them here.
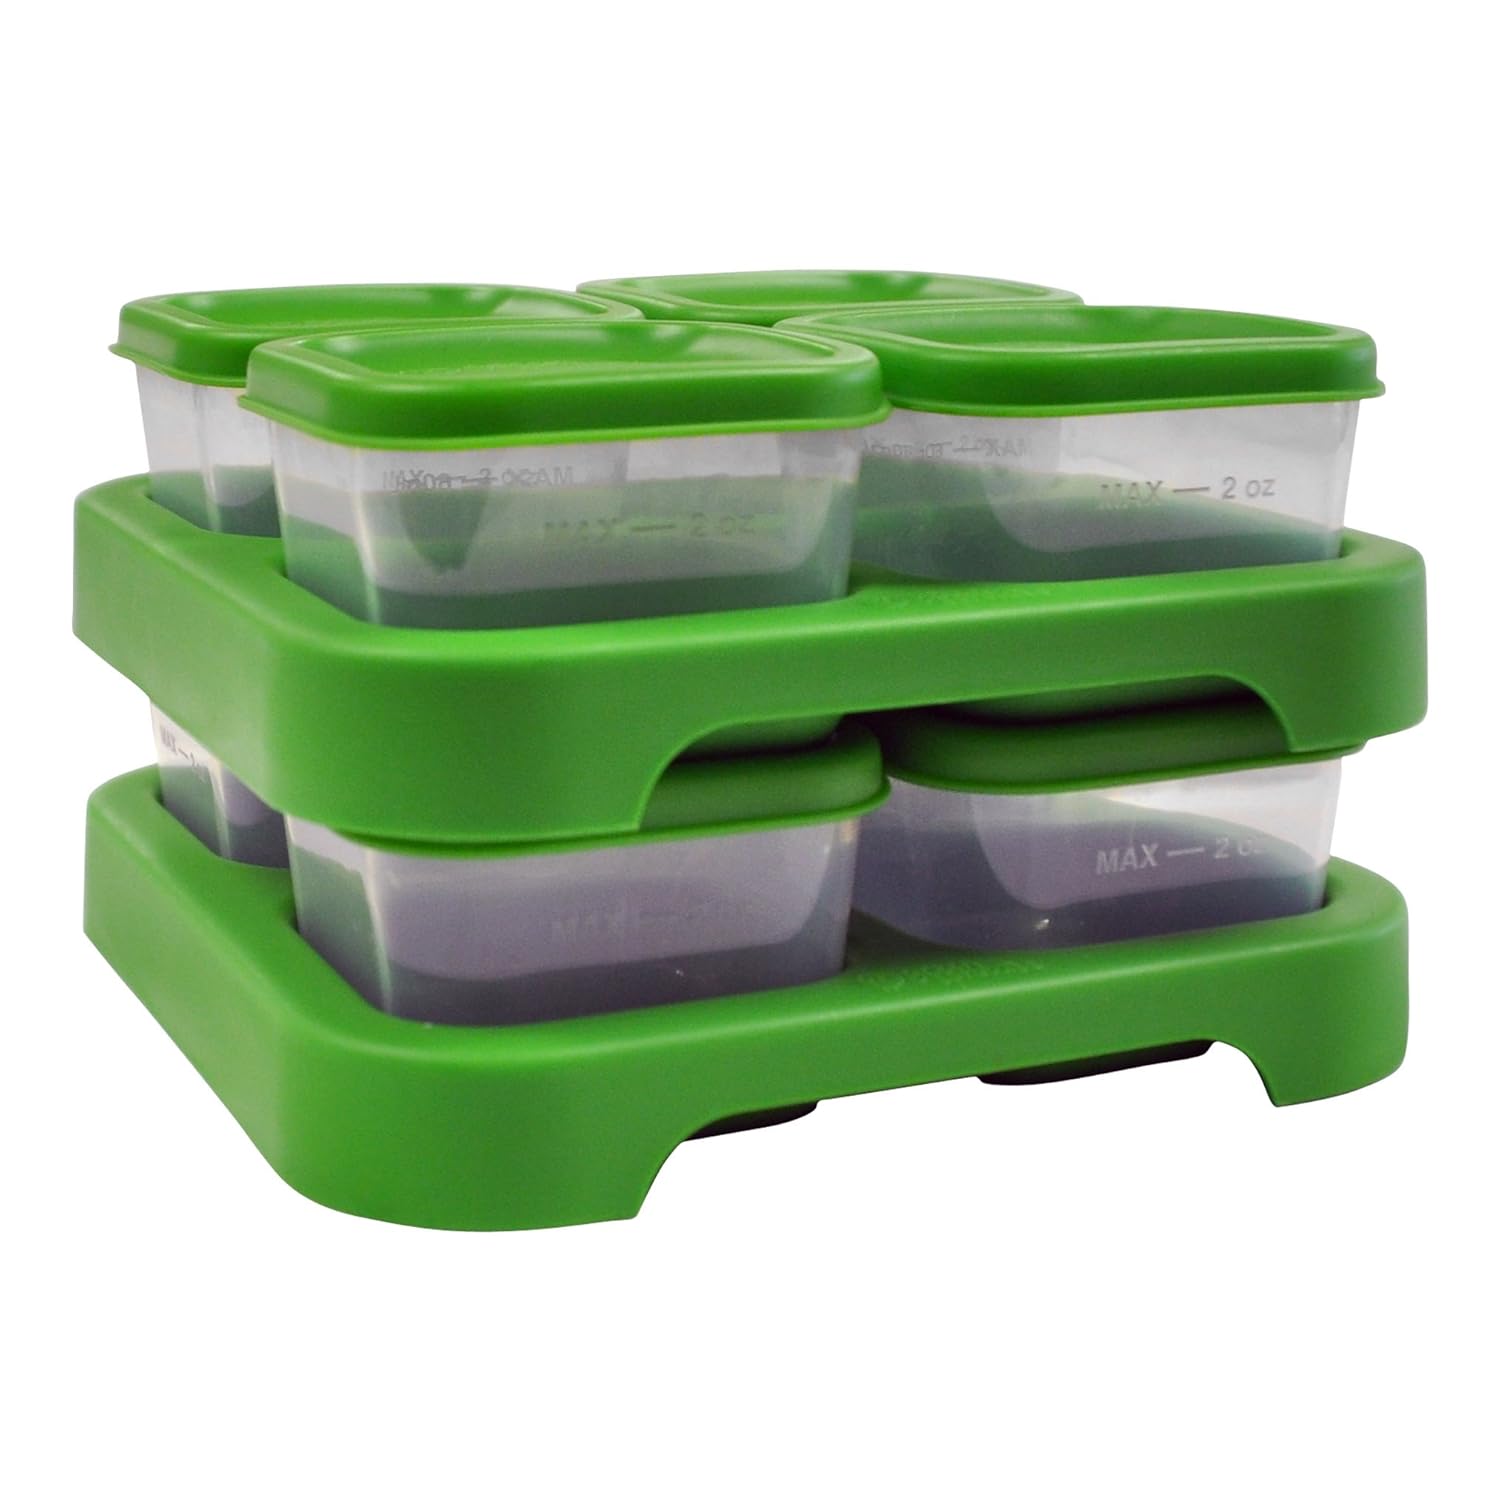
-Vegetables, fruit, and water.  It's pretty basic.

My friend, Mary Beth, shared a great post on how she makes her baby food, which I'd encourage you to read if you're considering this.

One of the greatest things I like about making baby food is that you have the privilege of offering a variety of foods to your baby much earlier than if you purchase them from them a jar in the store.  Avocadoes are one of our favorite foods, and you just can't find that in a jar at the store.  This is a great first food for babies!

Next week I'll be back with a recipe or two for baby food.  You see, I've been buying food lately, because I wanted to get a good head start with Mason and I wasn't in the mood to cook {it's that pregnancy related lack of motivation I get in the beginning}.  After buying a good set of food, though, I realized just how much money I save if I make it at home, so once we go through the batch I purchased, it's back to homemade!


Thursday, March 22, 2012

Chocolate Sandwich Cookies

One Saturday, a couple weeks ago, the girls begged me to make some cookies.  I knew we were out of chocolate chips, my husband doesn't like peanut butter cookies, and the girls aren't too fond of oatmeal.  So, I quickly searched the pantry and my handy Old-Fashioned Cookies cookbook to see what we could create.  Based upon the ingredients I had on hand, we were able to make these yummy sandwich cookies.  Delicious, I tell you.  They aren't too sweet or too chocolaty, and the cookies have a cake-like texture which makes them especially yummy.


Chocolate Sandwich Cookies
Printable Version


Cookies
2 cups all-purpose flour
1/3 cup unsweetened cocoa powder
1 teaspoon baking soda
1/4 teaspoon salt
6 tablespoons butter, softened
1 cup sugar
1 egg
1 cup milk

Filling
1/2 cup milk
2 tablespoons all-purpose flour
1/2 cup butter, softened
1/2 cup sugar
1 teaspoon vanilla

Preheat oven to 425F.  For cookies, stir together 2 cups flour, cocoa, baking soda and salt in a medium bowl.

Beat 6 tablespoons butter and 1 cup sugar in large bowl until fluffy.  Beat in egg.  Add flour mixture and 1 cup milk.  Drop by rounded teaspoonfuls onto greased {or parchment lined} cookie sheets.

The dough is very cake-like, so don't be alarmed


 Bake about 7 minutes or until set.  Remove to wire racks to cool.

For filling, stir together 1/2 cup milk and 2 tablespoons flour in small saucepan over low heat.


Cook and stir until thick and bubbly; continue cooking 1 or 2 minutes more.  Cool slightly.  Beat 1/2 cup butter and 1/2 cup sugar in small bowl until fluffy.


 Add cooled flour mixture and vanilla.


Beat until smooth.


* Note:  You may want to wear an apron, as the filling could splatter all over you, especially if you have a very pregnant belly :)


Spread filling on flat side of half the cooled cookies.


 Top with remaining cookies.


source:  Old-Fashioned Cookies

Thursday, March 1, 2012

Homemade Pasta {A Birthday Gift Review}

Tuesday was my big birthday:  I've reached my 30's!  It's really not that bad.  I guess for some reason I thought I'd be mildly depressed about hitting this new decade, but it's no big deal after all.  I'm thankful for the life I've been given.

For the past few years I've been wanting to know how to make homemade pasta.  Sure, dried pasta is fairly inexpensive, but there has been something appealing to me about making my own.  So, this year for my birthday I requested a pasta maker.  I did some research and most reviews I read recommended a manual pasta maker rather than an electric one.  This is the one that was given to me:

via

When I first looked at it, I thought that for sure I would end up in tears while making my first batch.  Oh, no!  This machine is SO easy to use and I LOVE it!!  Making pasta from scratch does take time, but once I got the hang of rolling it out, it went pretty quickly.  Fresh pasta only takes about 5 minutes to cook, so you do save some time on that end {at least 5 minutes--ha!}.  

How does one make pasta, you ask?  It couldn't be any easier, really.  Mix together some flour, eggs, and water when needed, and you have a basic pasta dough.  I'm looking forward to trying some variations of this, like spinach pasta, black pepper pasta, tomato pasta, etc.  Plus, it will be really fun to make homemade ravioli, tortellini, and other stuffed pastas.

What recipe did I attempt first, you ask?  None other than a classic Fettuccine Alfredo.  It was delicious.

This is what it looks like after going through the pasta maker, pre-cooked.


I think she had me take 15 pictures of her eating pasta.

Sorry for the blurry one, but Isabella wanted to show off her long noodles.


Tuesday, February 14, 2012

Homemade Vanilla Sugar

Happy Valentine's Day!

A couple weeks ago I shared with you my Vanilla Bean Pound Cake recipe, and I mentioned that you needed to save the vanilla bean pod for another use.  Today, I'm sharing with you how to put that pod to great use for some sweet flavor in your kitchen.


Coffee is a staple in our home, and my husband and I both enjoy a cup every morning.  I like my coffee with cream and sugar, not usually flavored, though, as my husband prefers his plain.  This morning, I used this sugar instead of plain, and it was quite yummy.  It would also be a nice touch in a cup of hot tea, if you prefer that to coffee.

Before making the sugar recipe below, wash off the vanilla bean pod, lay it out to dry completely, and then place it in a bowl of sugar for about a week or two.  This will help the sugar to become infused with a vanilla flavor.


Homemade Vanilla Sugar

1 vanilla bean pod
1 cup sugar

In a food processor, blend the bean pod and the sugar until pod is completely broken apart.


Put the mixture through a flour sifter or very fine sieve to get out all of the larger pod pieces.


These pieces were left in the sifter, which is why you want to be sure not to skip this step!

You can substitute vanilla sugar for sugar in any recipe in which you want to enhance the vanilla flavor.  Stir it into your coffee, or sprinkle it on top of milk brushed scones or other breads before baking.


*When I used this in my coffee, I needed a bit more sugar than normal.  When you sift the sugar, it must lose a bit of its strength as it becomes finer.  If you are using this as a substitute in baking, just be aware that you may need to adjust the amount.*

source: Zoe Bakes

Friday, January 6, 2012

Homemade Flour Tortillas

This past week I've been trying to empty the freezer of meat and only cook things for which I already have the ingredients.  There were just enough items at home to have chicken fajitas one night, minus the tortillas.  So, I decided to make some.  They really were delicious, and I love that they aren't as thick as ones that you purchase from the store.  However, I'm not really sure it's worth the trouble; each tortilla needs to be rolled out very thin, and that took some time.  Now I know that I can do it, though, and we'll see what happens the next time I decide to put fajitas on the menu...


Homemade Flour Tortillas

4 cups flour
2 teaspoons baking powder
1 teaspoon salt
2 tablespoons vegetable oil {or salad oil}
1 1/2 cups hot water

Mix dry ingredients well.  


Mix in oil, then add water slowly. 


 Knead dough by hand.  

Take pieces the size of an egg, and roll out thin on a floured surface. 


They need to be REALLY thin
 (If dough is too sticky, add more flour to each piece as you roll out).  Heat tortillas on both sides in a dry skillet, on high heat, until lightly browned (about 20-30 seconds per side).  


Best served warm.  
source: my mom's recipe collection

*Just a side note, in my effort to not have to go to the store, I ended up at the grocery store right before dinner time this night!  We had no cheese or sour cream, and I couldn't bear the thought of fajitas without those two necessary ingredients.  I was tempted to purchase tortillas since I was there anyway, but being the stubborn woman that I am, I decided to make the tortillas anyway.  Really, I'm glad that I did, but the whole thing was somewhat ironic.*

Thursday, June 30, 2011

Homemade Bread for the Beginner


I wish I could have transported you to my kitchen yesterday while my bread was baking in the oven.   But since that isn't possible, and smells cannot be shared via the internet, I'll just share this easy bread recipe with you.  Making homemade bread does not have to be a long process.  In fact, if you've never tried it before, this recipe is a perfect place to start, because you'll have some fresh baked bread in about 2 1/2 hours, with only 30 minutes or so of hands-on time.  My only warning is that if you make this for those you love, you might never be allowed to buy bread from the store again!

Recipe:
6 to 7 cups all-purpose flour
3 tablespoons sugar
1 tablespoon salt
2 tablespoons shortening
2 packages regular or quick active dry yeast (4 1/2 teaspoons)
2 1/4 cups very warm water

Mix 3 1/2 cups of the flour, the sugar, salt, shortening and yeast in a large bowl.  Add warm water.  Beat with electric mixer on low speed 1 minute, scraping bowl frequently (this step is important because some of the flour will remain on the sides and bottom of the bowl!). Stir in enough remaining flour, 1 cup at a time, to make dough easy to handle.

Should look something like this

Place dough on lightly floured surface.  Sprinkle flour on top of dough mound, and then begin to knead until it is smooth and springy.

Add more flour as needed if dough is too sticky

Little hands make great dough kneaders!


Place dough in large bowl greased with shortening, turning dough to grease all sides.  Cover bowl loosely with plastic wrap and let rise in a warm place for about an hour, until double in size.  *Tip:  place your bowl on top of the stove and turn on your microwave light--if you have one--this provides heat and I have found makes it rise more quickly.*


Doubled


Grease bottom and sides of 2 loaf pans, 9x5x3, with shortening.

Gently push fist into dough to deflate.


Divide dough in half.  Flatten each half with hands and shape into a rectangle on a lightly floured surface.

A perfect rectangle shape is not required

Roll dough up tightly and seal the ends.


Pinch the ends together 


Shape it somewhat and center it in the loaf pan

Fold ends under loaf and place, seam side down in the pan.  Cover loosely with plastic wrap and let rise in a warm place for 35-50 minutes, until double.

Doubled


Move oven rack to low position so that the tops of the bread are in the center of the oven.  Heat oven to 425F.  Bake 25-30 minutes until loaves are deep golden brown.  Remove from pans to wire rack.

Don't worry if your loaves don't look perfect!  Mind sure didn't!  It's the taste that everyone cares about.


Source: Betty Crocker's Cookbook